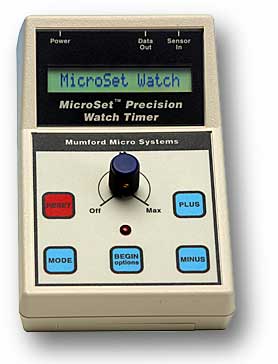
The
MicroSet Watch Timer Pro has several improved features over the previous MicroSet Watch Timers. The Pro version includes the built-in
beat amp and
balance wheel amplitude features, the
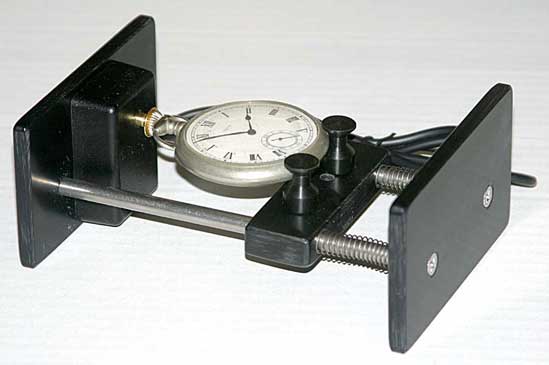
clamping watch sensor, and a special version of Watch Timer Pro software for Windows.
The Pro version also includes additional changes to the circuitry that allow the Windows software program to control the settings of the timer itself.
Remote Control
The Watch Timer Pro software for Windows allows you to reconfigure the timer itself from the computer screen. Previously you had to change modes on the timer and then change modes on the computer screen. To increase work flow in a busy shop, one click of a mouse button can now reconfigure both the timer and the software for the major operations.
In the screen shot below, there is a group of six buttons that perform these operations. Clicking one of them automatically reconfigures the timer hardware to output data in that mode and reconfigures the Windows software to display it. This makes it much easier to move from one operation to another. The only time you need to touch the timer itself is to adjust the Level control. Buttons in the software currently support the following operations:
- Set the Level
- Paper Tape Simulation
- Balance Wheel Amplitude display
- Time: 10
- Time: 30
- Accutron Rate
Additional buttons let you tweak the setting of the Blanking Window or turn the built-in beat amplifier (speaker) on or off.
Setting the Target Rate
When you select the Target Rate for the watch from the Windows program, the Blanking Window in the Watch Timer Pro is automatically set to the optimum value for that rate. This greatly improves the noise rejection of the timer.
Paper Tape Mode
A new parameter has been added in the Paper Tape Mode to show the gain or loss in seconds per day for the most recent 50 readings. This allows you to change positions of the watch and wait a few moments to get an accurate rate of the new position, without the need to delete previous data. This parameter is called “Slope Rate” in reference to the fact that it is derived from the traditional “slope” of dots on the paper tape.
When you click on the value for "Slope Rate", you can change the number of beats used for the calculation.
When you click on the label for "Slope Rate", it enters the current value of the rate (in seconds per day of error) in the comment line at the top of the graph.
When you click on the label for "Beat Error", it enters the current reading of beat error in the comment line at the top of the graph.
Balance Wheel Amplitude
The Balance Wheel Amplitude function has been rewritten to be more stable, more accurate, and more clear.
A button has been added to the Balance Wheel Amplitude window to “Capture” the amplitude. This will store the current amplitude readings in the normal graph area to show a history of amplitude changes over time. No other watch timer on the market has this feature.
You can now print the balance wheel amplitude window, pause the display, or turn the built-in beat amplifier (speaker) on or off.
A "Comment" button enters the current amplitude value in the comment line at the top of the graph.
A copy of the new amplitude window is shown below. Notice that a history of the balance wheel amplitude is shown in the main graph window behind the amplitude window.
Get Watch Data
A new item under the Watches Menu allows you to “Get watch data”. This will open a file that contains the lift angles and beat times of watches from over 50 different makers. You can select parameters for a watch you’re working on, and MicroSet will automatically update the Target Rate and Lift Angle for that watch. The maker’s name and Target Rate will also be stored in the comment line at the top of the graph.
(The lift angle and target rate can also be entered manually.)
Users can add entries to the watch data file for watches they commonly work with.
Help System
A Help system has been added to take you through the measurement of a mechanical watch step-by-step, describing every function and how to use it in the Windows software. Samples of the Help windows are shown below.
